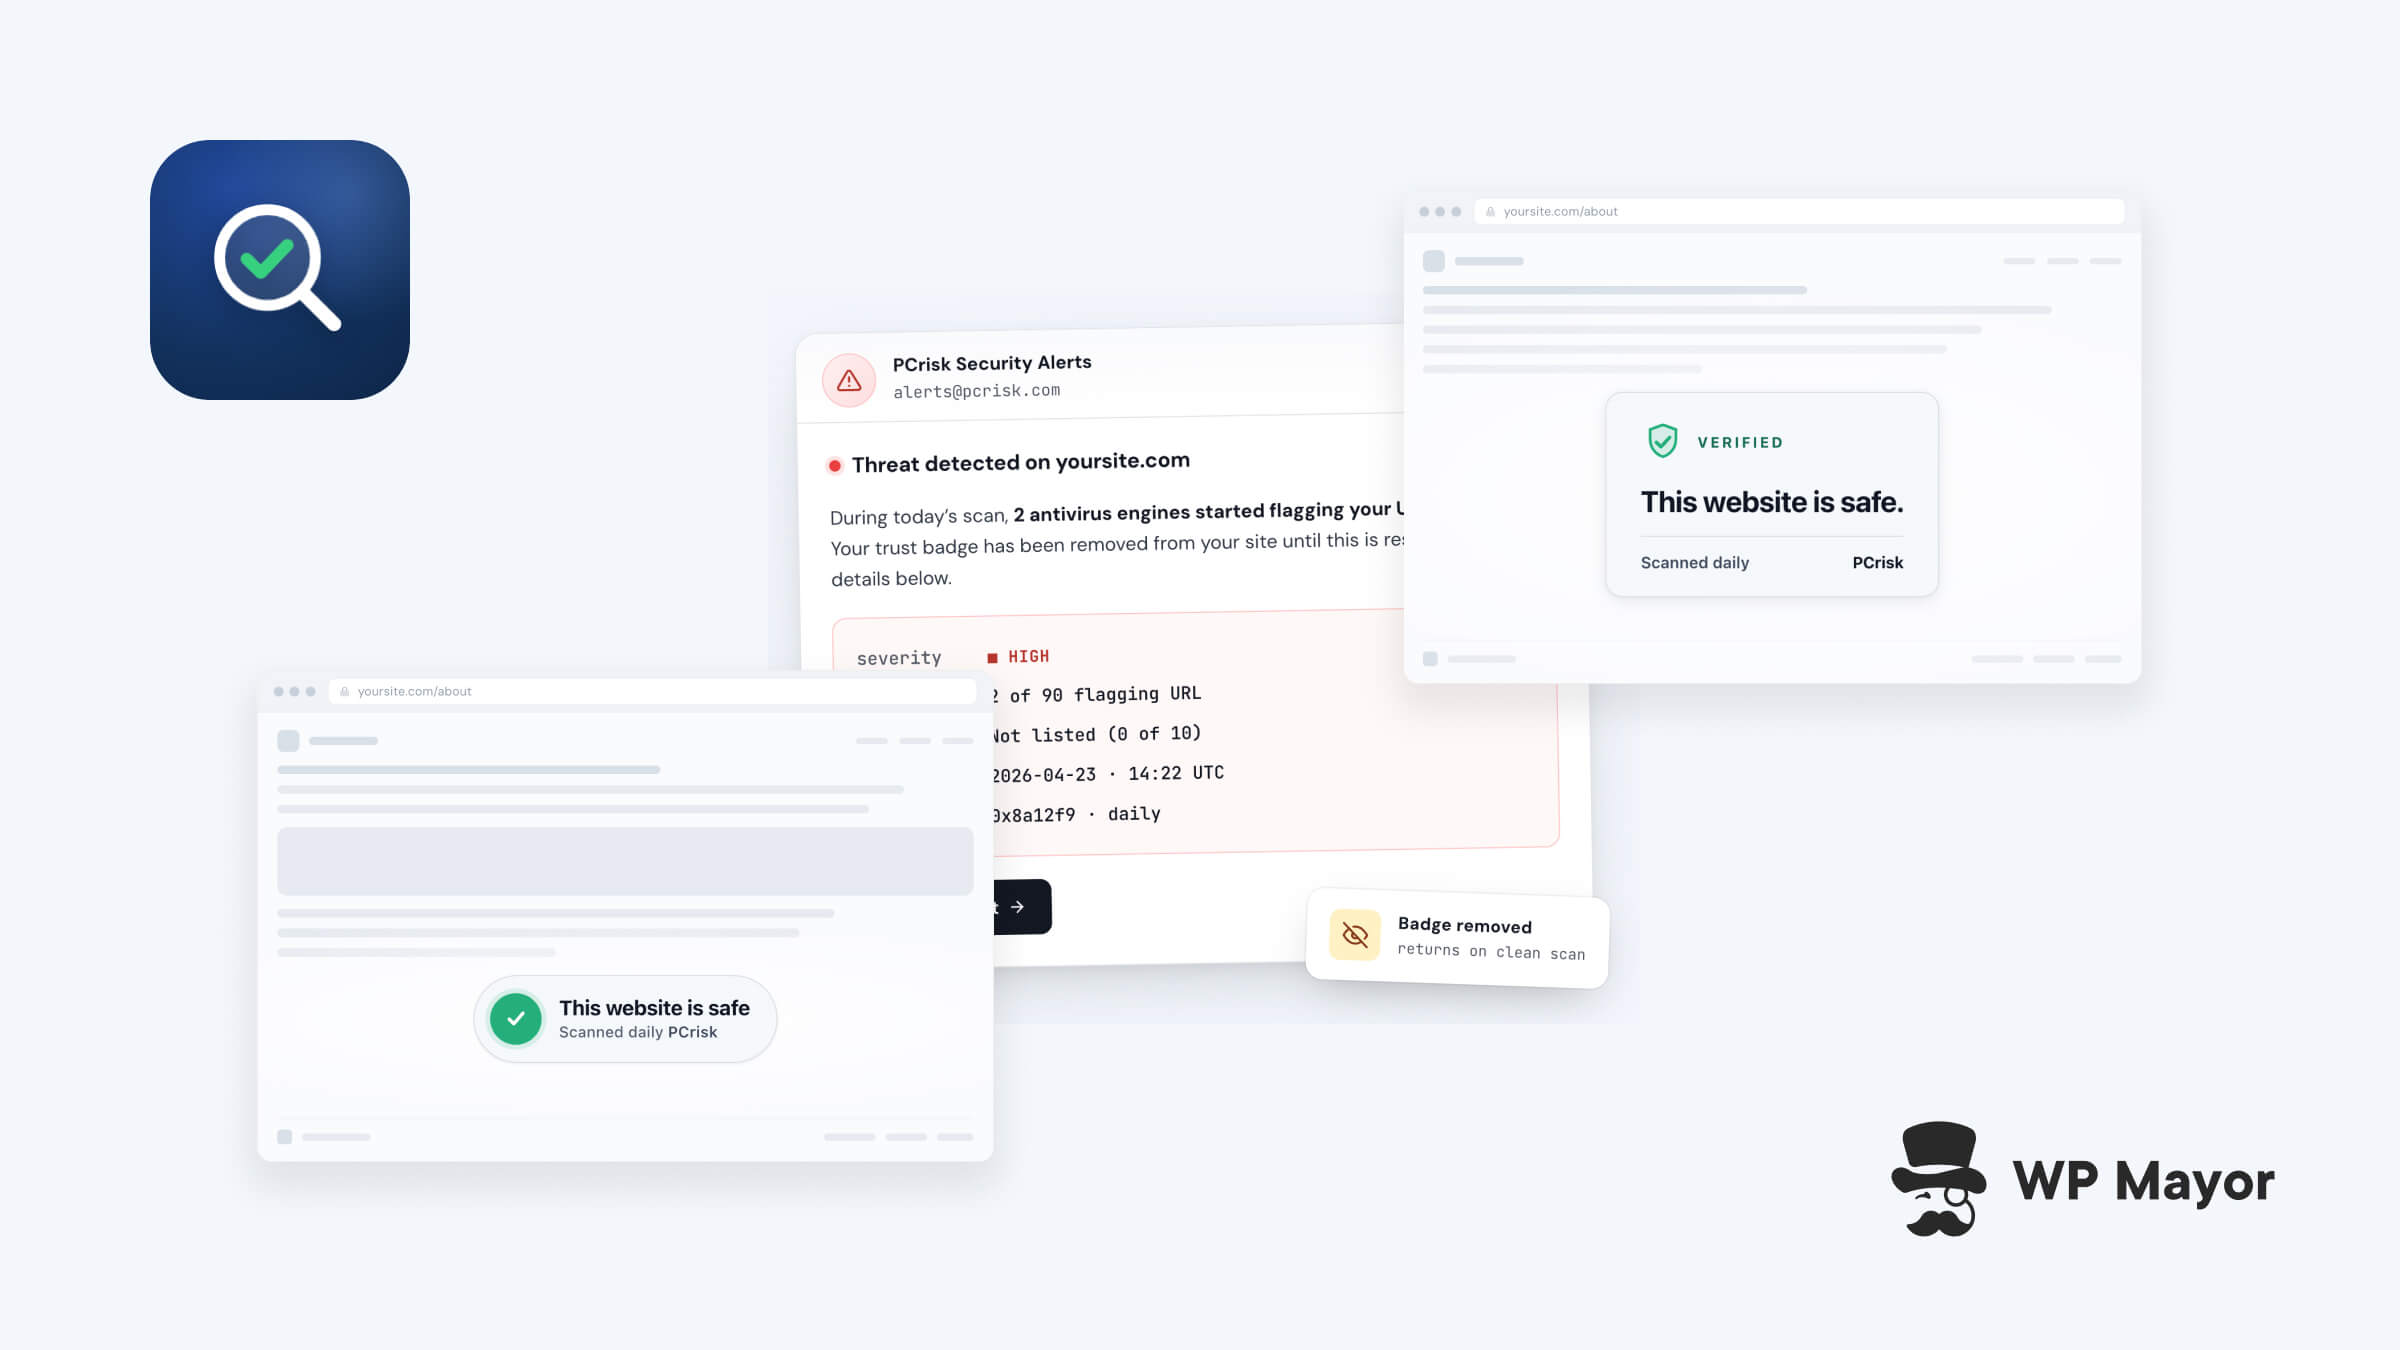
Any website that relies on trust to facilitate sales needs to showcase that wherever customers show up. I’ve got a PCrisk Trust Badge review today that gives you a near-perfect solution! It makes regular scans of your site for malware and other malicious intent, then displays a badge if all is well. However, if something comes up in the scan, the badge will hide again until you resolve it.
The premise is simple, but this review will help you decide whether its application is also straightforward. Spoiler alert: I think it’s an easy decision to make!
PCrisk Trust Badge Review: Fast Facts
- PCrisk Trust Badge is a WordPress plugin that connects to an external scanning service. The scanner checks the site using over 90 security sources, including Safe Browsing, Spamhaus, SURBL, PhishTank, and URLhaus.
- The actual badge appears only while the latest scan is clean. It’s hidden when a scan fails. Public badges and reports are part of the premium version.
- Premium pricing begins from $16.95 per month. Each plan offers a 14-day free trial and a 30-day money-back guarantee.
PCrisk Trust Badge Review: Pricing
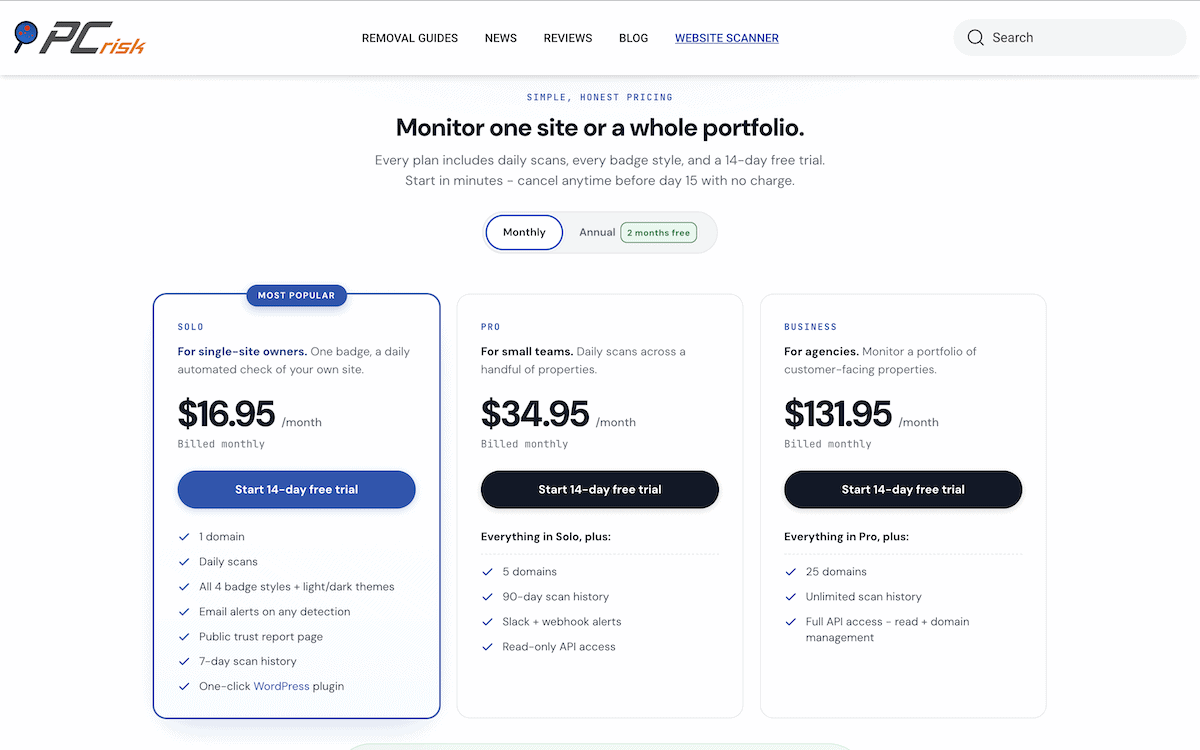
I’ll start with the three premium plans and give you the lowdown on the free version after. Note that the prices here are for month-by-month billing and annual plans come with two months free usage:
- Solo ($16.95 per month). For a single domain, you can run daily scans, access a seven-day scan history, show a public trust page, and receive email alerts. You also get to use four different badge styles and themes.
- Pro ($34.95 per month). In addition to functionality in Solo, you get a 90-day scan history, and usage for five domains. There are also Slack and webhook alerts and access to the PCrisk API.
- Business ($131.95 per month). This plan gives you the full functionality of the plugin, including no limit to the scan history and full API access, for 25 domains.
As for the free version, PCrisk will scan one site, once per month, then sends you the results complete with a trust score and summary. None of the premium functionality is available in the free version. I’m going to talk more about the use cases shortly. However, in short, the Solo plan is ideal for a single store. If you run an agency, Pro would suit you. The Business plan would also work for an agency with a larger portfolio, or if you know that portfolio will grow in the future.
PCrisk Trust Badge is also available as a Shopify app and as a script snippet for any other website platform, but the focus is (of course) on the WordPress plugin for this review.
PCrisk Trust Badge Review: What It Does and Who It Suits
WordPress security plugins do a huge service to millions of sites. In my opinion, they’re likely the hardest working plugins you’ll install. However, the public never sees any of this. In some cases, the website will display a static seal or badge to indicate that the site has security.
PCrisk Trust Badge displays a dynamic badge. This links to a public report that shows details such as the scan date, a trust score, and the engines it used. If a scan fails, the badge won’t show.
The scan itself covers a few areas: Malware, phishing feeds, obfuscated scripts, SSL validity, and more. However, your current WordPress security plugin still has a vital part to play as PCrisk Trust Badge only detects and reports on issues.
Agency owners will love the peace of mind this gives to clients. In fact, anyone who runs multiple sites will find value in the plugin. So will WooCommerce stores, small businesses or lead-generation websites. Anywhere customers need to know your site is safe to pass their data through will find benefits in PCrisk Trust Badge.
PCrisk Trust Badge Review: Key Functionality
The core of PCrisk Trust Badge is its scanning: daily for premium plans and monthly for the free plan. Scans run on PCrisk’s servers, so there’s no load on your site. There’s no impact on page speeds for the free version as the plugin adds nothing to public pages.
It’s worth noting that PCrisk Trust Badge aims to respect data privacy. It’s a ‘cookie-free’ solution, although it does load an external script and contacts PCrisk servers. However, you have to explicitly approve those connections with WordPress. Visitors won’t see a different experience than usual, but requests do send an IP address and the page URL to PCrisk.
The dynamic badge is a unique element. Once a scan takes place, a ‘clean’ result means the badge will display on your site. The threshold is based on a ‘trust score’ of 70. If a scan flags an issue, you get an email notification with the details. This will hide the badge until you have another clean scan. Note that I couldn’t trigger a failed scan safely for this review, but it doesn’t impact using the plugin here.
If the plugin can’t scan your site, it leaves the badge in place and won’t send you an alert. However, it does display a dedicated status. Typically, unscannable sites are in maintenance mode or have password protection.
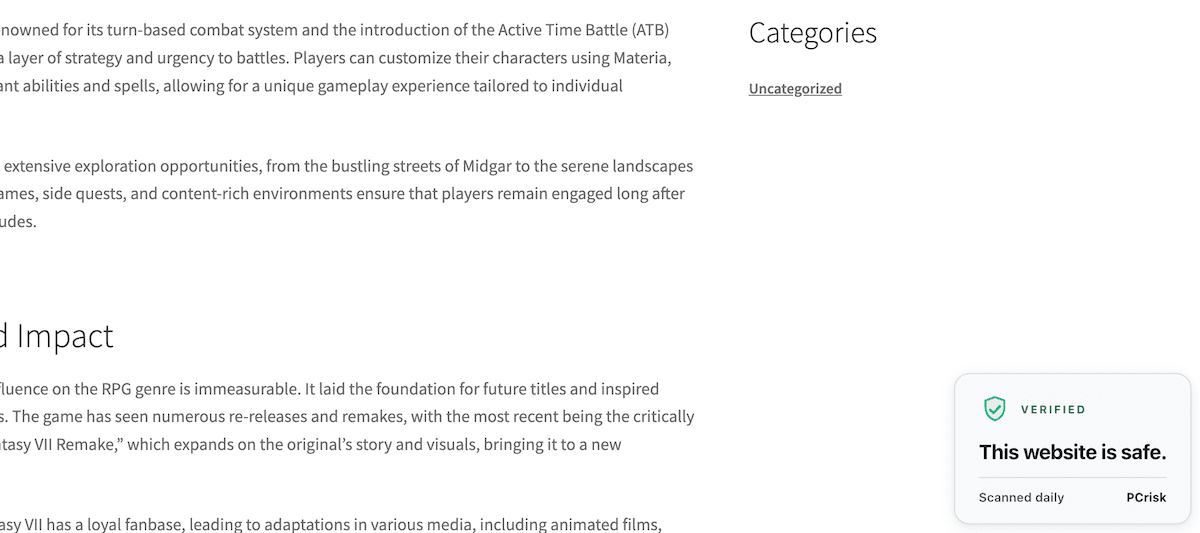
As for design, there are four styles to choose from, along with two themes, and three sizes. You can place badges at set points on the page: at the top, after content, in the footer, and floating in the corner of the screen. The home page, posts, and pages all get separate location points. If you want an exact position for the badge, you can use the dedicated WordPress Block.
For WooCommerce stores, PCrisk Trust Badge displays badges on shop and product pages, and the cart and checkout. Each of these again has numerous locations.
Finally, you get access to the API and webhooks. The API lets you work with PCrisk Trust Badge at a developer level. The webhooks (and Slack alerts) trigger when you open alerts, resolve those alerts, and have a failed scan.
PCrisk Trust Badge Review: Hands-On Testing
You install and activate PCrisk Trust Badge through the WordPress Plugin Directory. Once you do this, you’ll start the initial setup process, which includes a security scan:
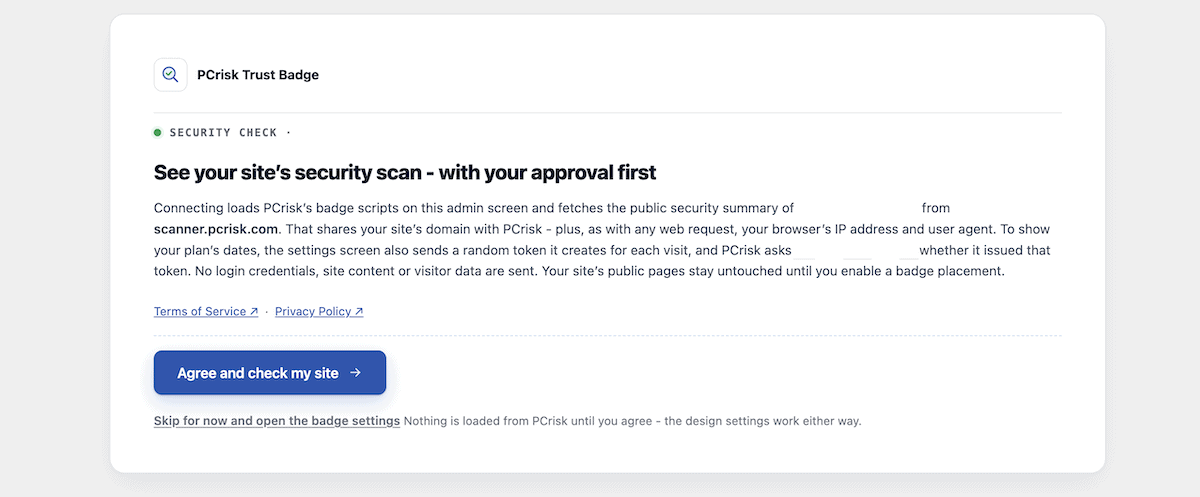
After a few minutes, you’ll get a report screen that displays your trust score and a small breakdown of the results:
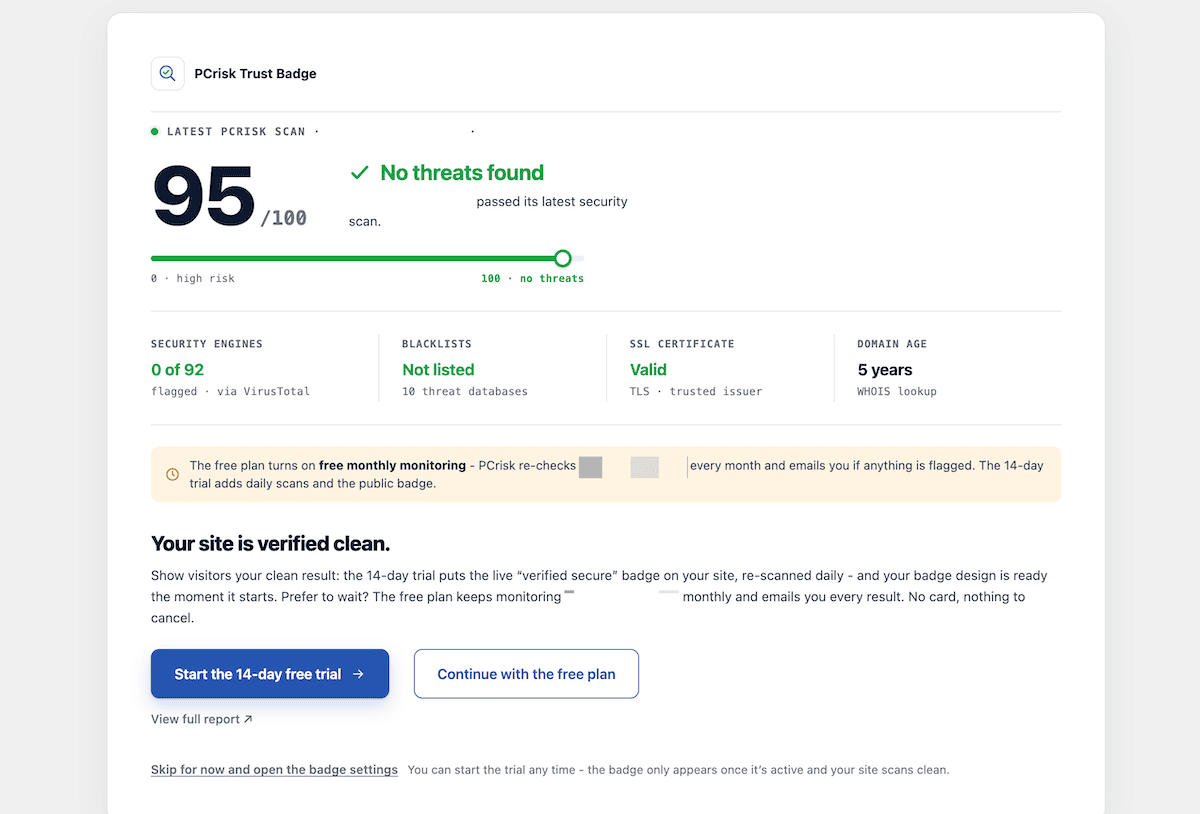
At the bottom of this screen are two buttons. If you continue with the free plan, this is essentially the experience you get. However, you can start your free premium trial here too.
Before I get into using the premium functionality, notice the View full report link underneath those buttons. This brings you to a screen detailing the scan, but with much more information:
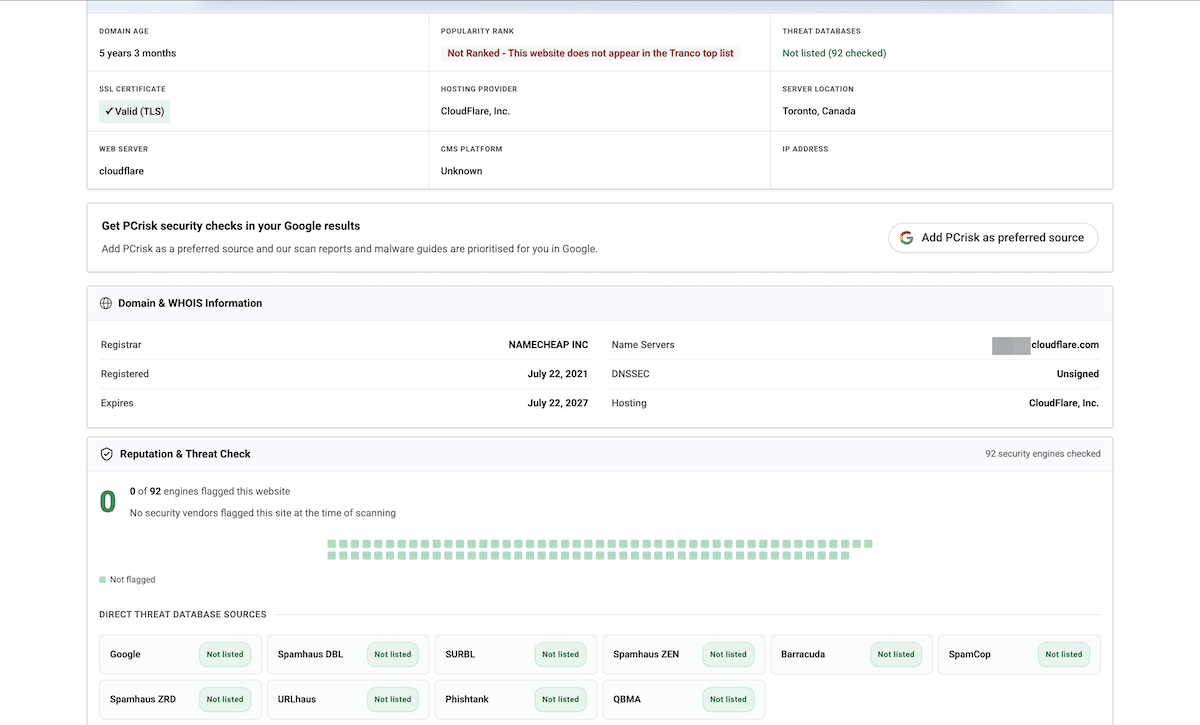
Next, I want to look at what happens after you upgrade.
Touring the PCrisk Trust Badge Dashboard and Installing the Badge
We’re going to jump between WordPress and the plugin’s admin dashboard a bit, for reasons that will become clear.
The dashboard is straightforward. You start at a list of domains. Clicking one shows you a screen with details on your trust score, number of alerts, and whether your badge is active or not:
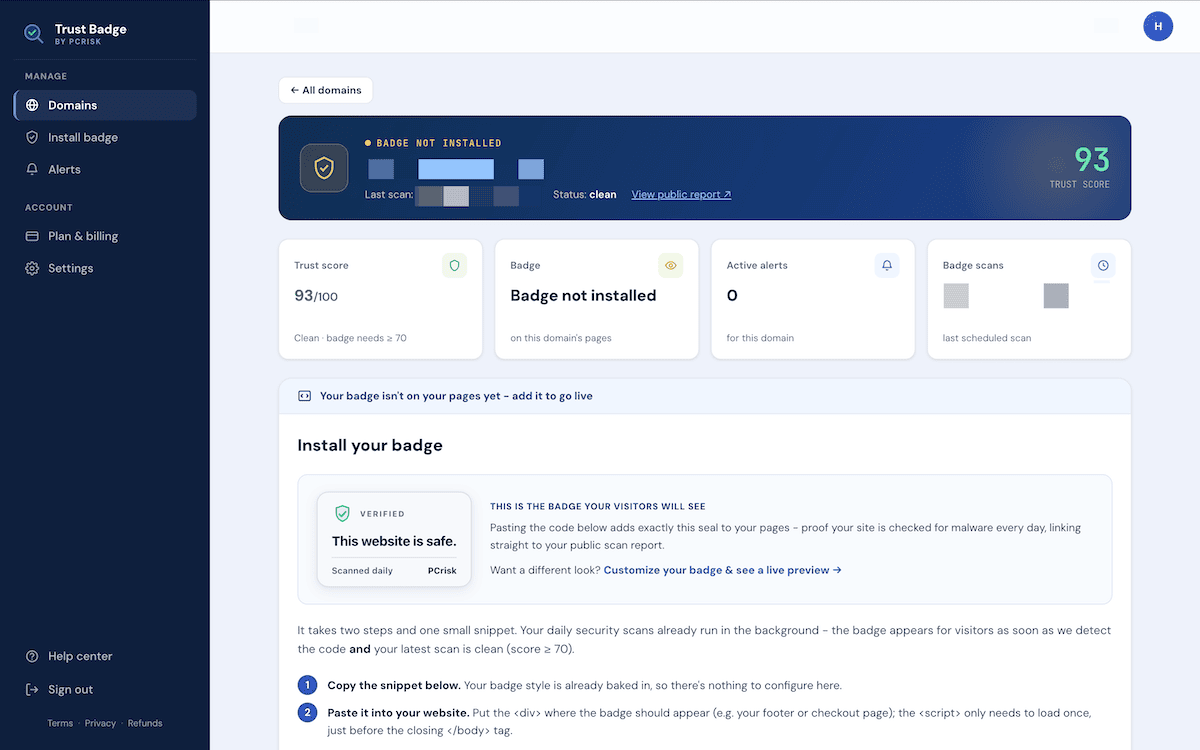
At the bottom of the screen is your scan history log. However, between the numbers and the log are the badge installation instructions. For WordPress installations, you won’t need this. Instead, head back to WordPress and click the Design your badge button.
This screen is where you set a placement and choose your design options:
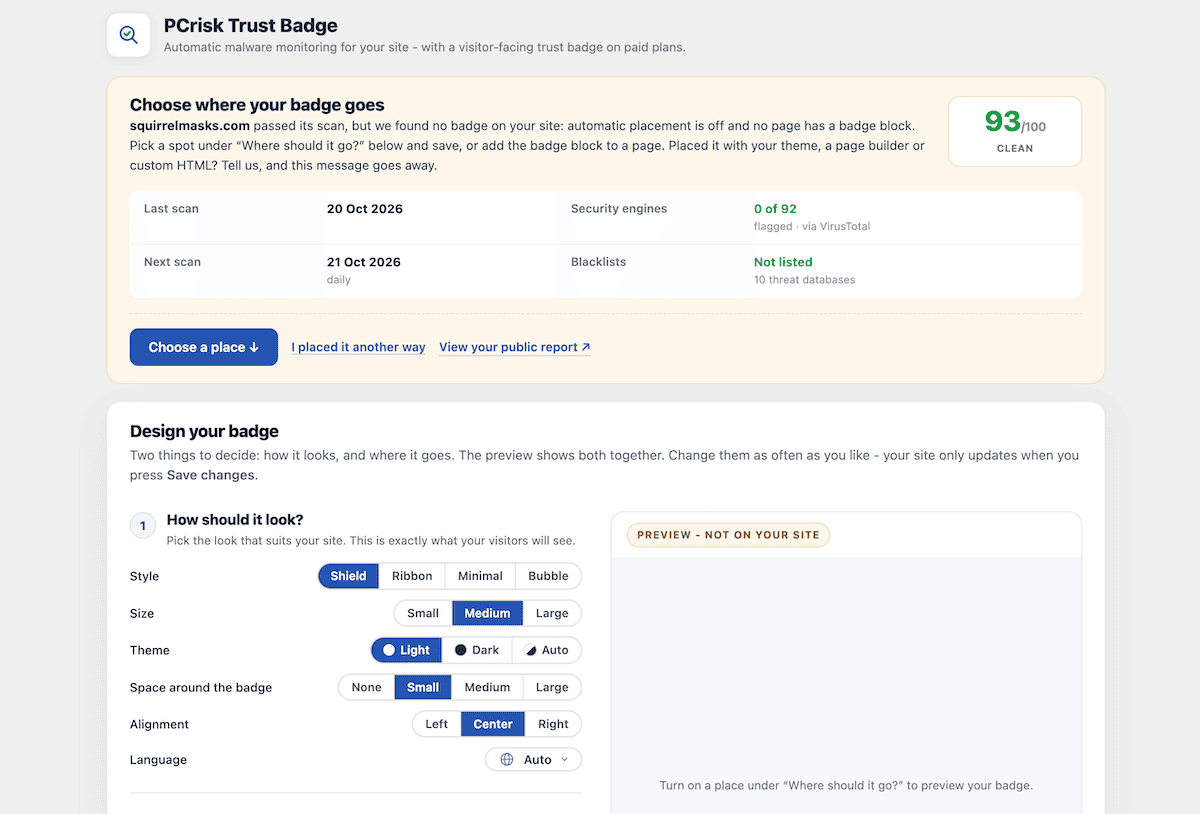
Typically, I’d run through all of these and show you the setup process top to bottom. However, look out for a future post that does this in greater detail! Regardless, in order to display the badge, you need to select a placement.
Once you do, check out the front end of your site. You’ll see the badge in place. I chose a floating badge for my site. At this point, there’s no more you need to do, even on a premium plan. There are no other options and your badge will display until a scan fails.
PCrisk Trust Badge Review: Documentation and Support
Starting with support, you can email the PCrisk team and contact them through a dedicated website form. I didn’t find any indication of response time, unfortunately.
As for documentation, I could only find one page that had any information on using the plugin. At first, I couldn’t find the link to the Help Center, but it’s at the bottom of the Trust Badge page. I’d like to see this have greater prominence.
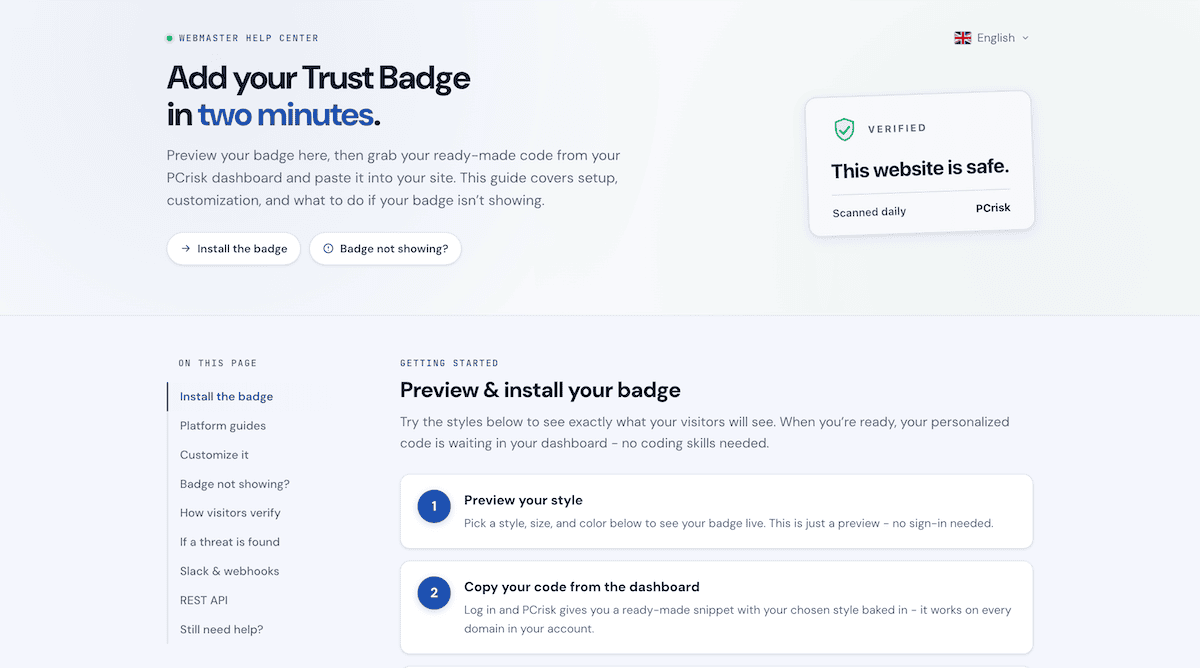
This isn’t like a typical Help Center, as it’s simply a list of guidance steps and troubleshooting tips. It’s not typical to document your plugin in this way, but PCrisk Trust Badge is intuitive to use. I don’t see where documentation other than what’s available would be necessary, given the UI of the plugin: it’s one screen of mainly design options. In my case, I didn’t need any documentation or help. You likely won’t either!
My Final Thoughts on PCrisk Trust Badge
At first glance, PCrisk Trust Badge doesn’t seem like an essential plugin. However, if you run a business that depends on being trustworthy to customers, peace of mind is valuable for customers willing to spend money on you. I’d argue a premium plan of PCrisk Trust Badge can pay for itself after a handful of typical shop sales.
Because the badge is dynamic, it means you still need to monitor your security instead of using a ‘set and forget’ approach. This is a good approach in my opinion. If you get a notification, the badge hides, and you have to work to put things right. PCrisk Trust Badge keeps you active on WordPress security.
Related Articles
Does this PCrisk Trust Badge review convince you the plugin has a home on your WordPress website? I’d like to hear your thoughts in the comments section below!