Repeated edits can slow down a Divi build: matching button styles, correcting placeholder copy, checking phone spacing, and opening module after module to make the same change. Divi AI Agents let you describe those changes in the Divi 5 Visual Builder and apply them across the relevant elements.
The useful habit is to give the agent a clear target, a specific result, and boundaries for what should stay unchanged. These ten workflows show where that approach can reduce repetitive work and where you still need to inspect the result.
How Divi AI Agents Work
Open a page in the Divi 5 Visual Builder and click the AI Agent icon in the left toolbar. The chat opens beside your Canvas, so you can follow the work and inspect the page.
Choose Ask when you want an explanation or planning help without changes. Use it to clarify a Divi feature before deciding what to build.
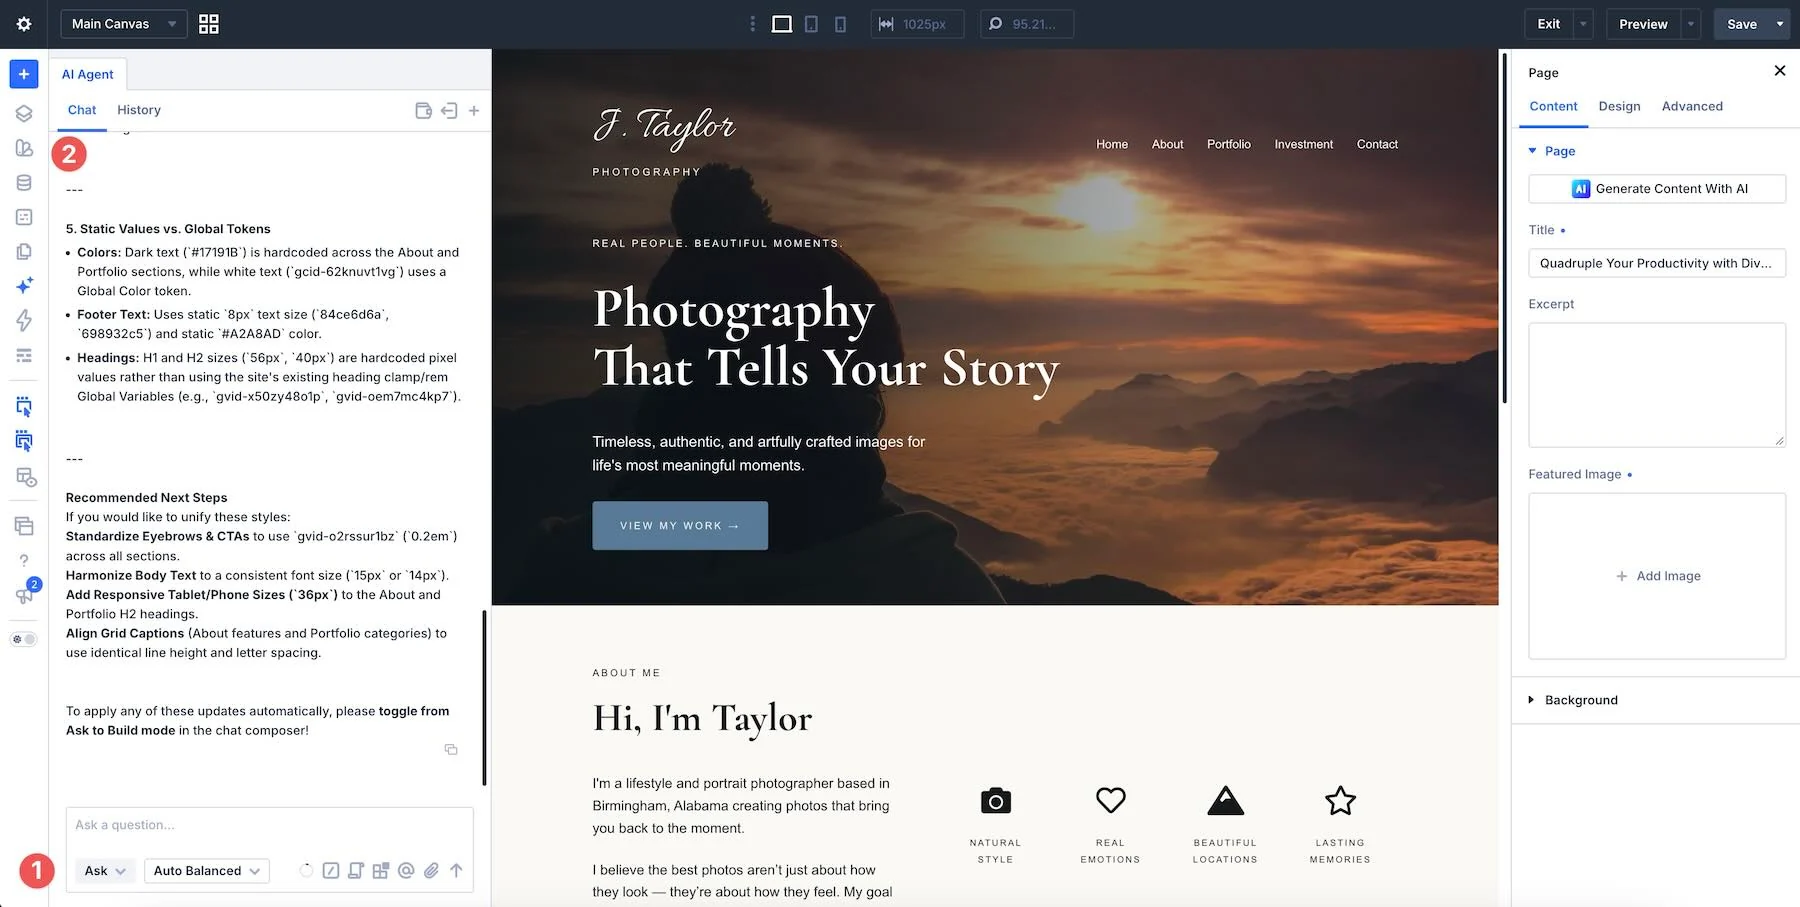
Choose Build when you want the agent to act, such as adding a section, moving modules, changing settings, or replacing text. It works with native Divi elements that you can continue editing yourself. Specify native settings only when you want to keep custom CSS and code out of the result.
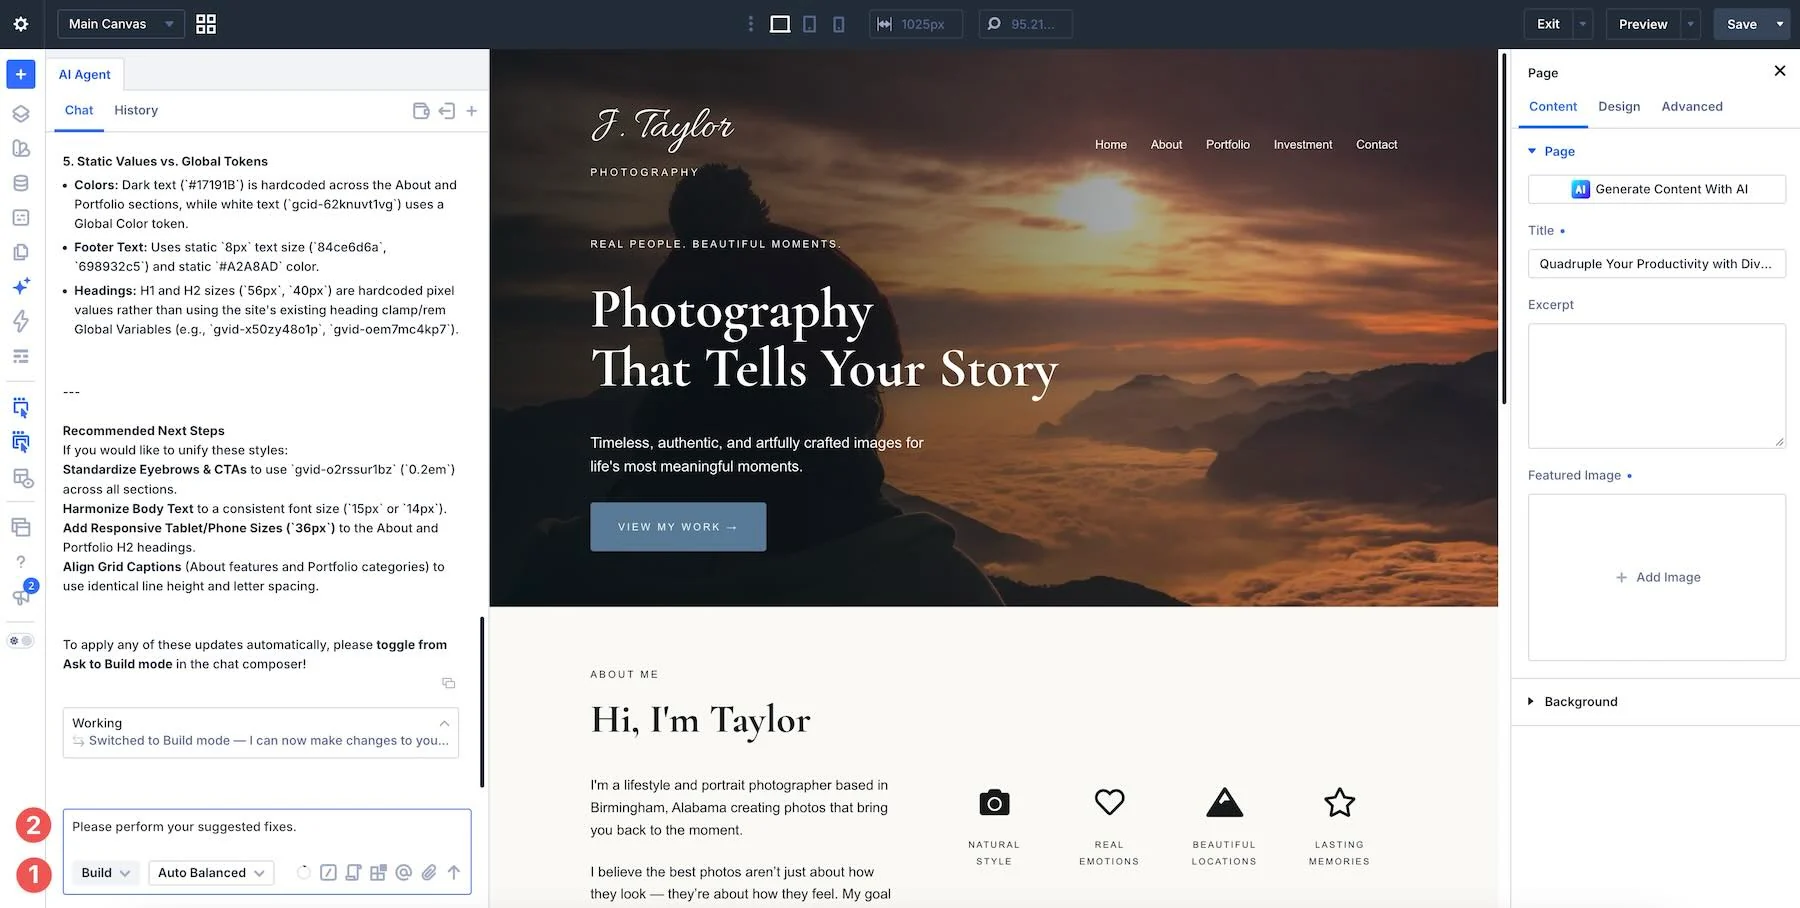
Some actions pause for approval. A tool’s Safe, Moderate, or Destructive badge describes its risk category; it does not mean every Moderate action requires confirmation. Most layout edits run immediately, while actions such as saving a page or changing its publish status ask first. Read the requested action before approving it.
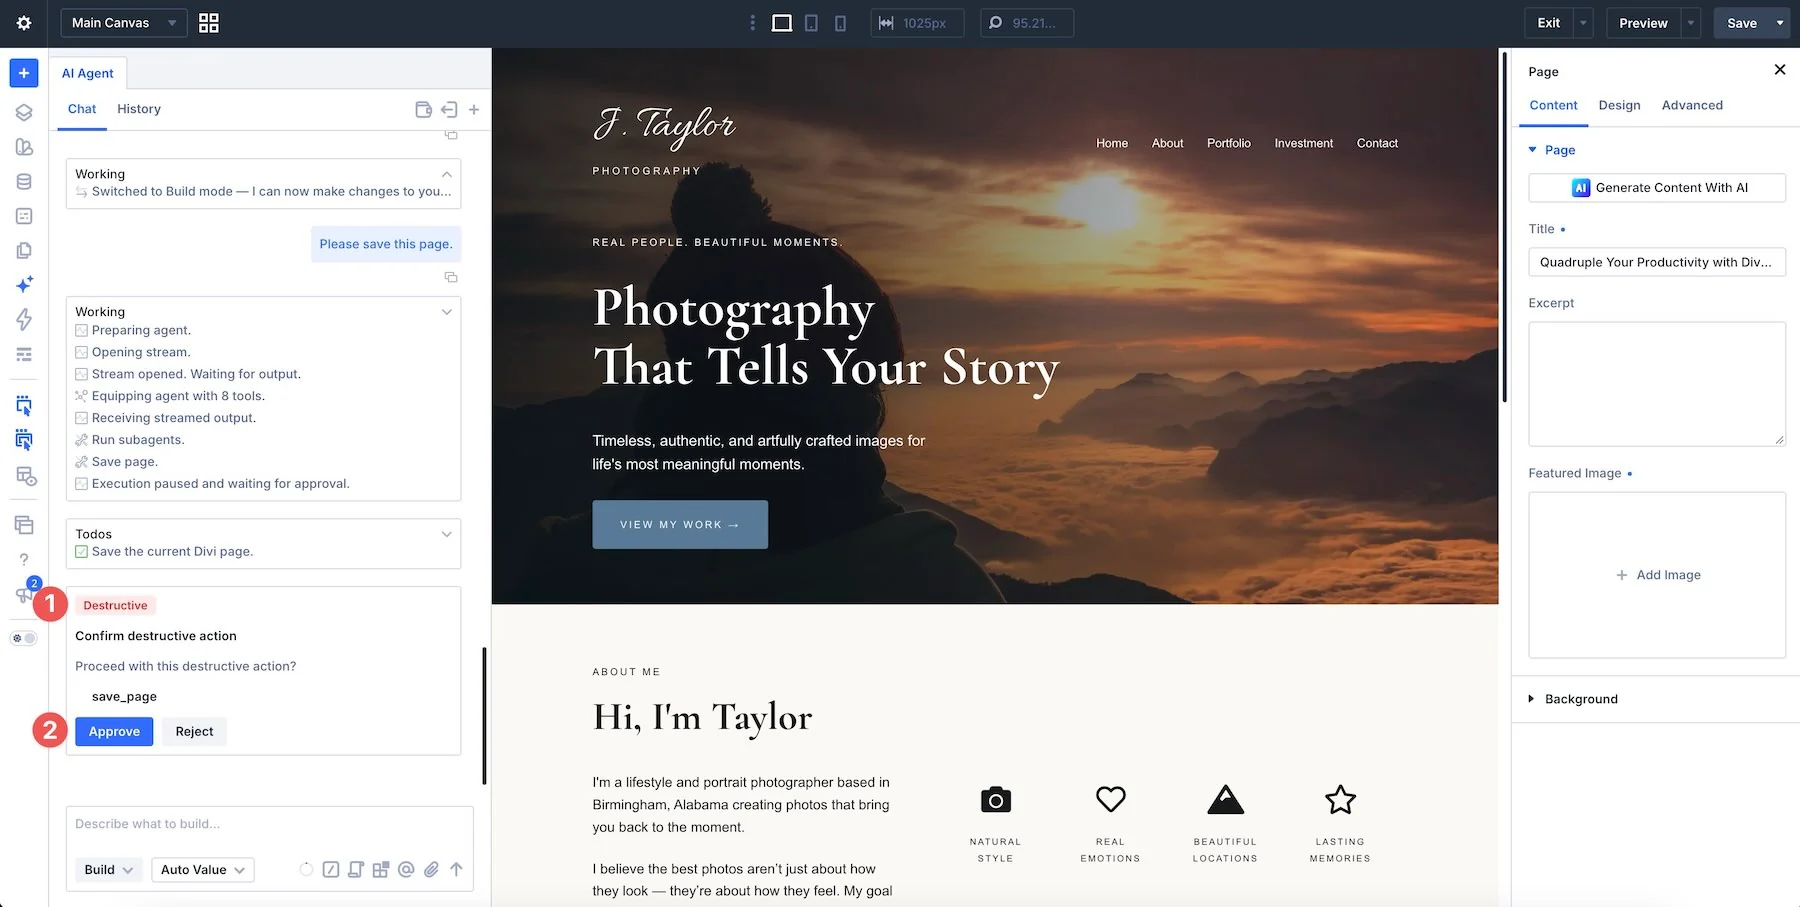
The working log and to-do list show what the agent is attempting. Compare that summary with the Canvas and settings: a completed response is a reason to inspect the work, not a substitute for checking it.
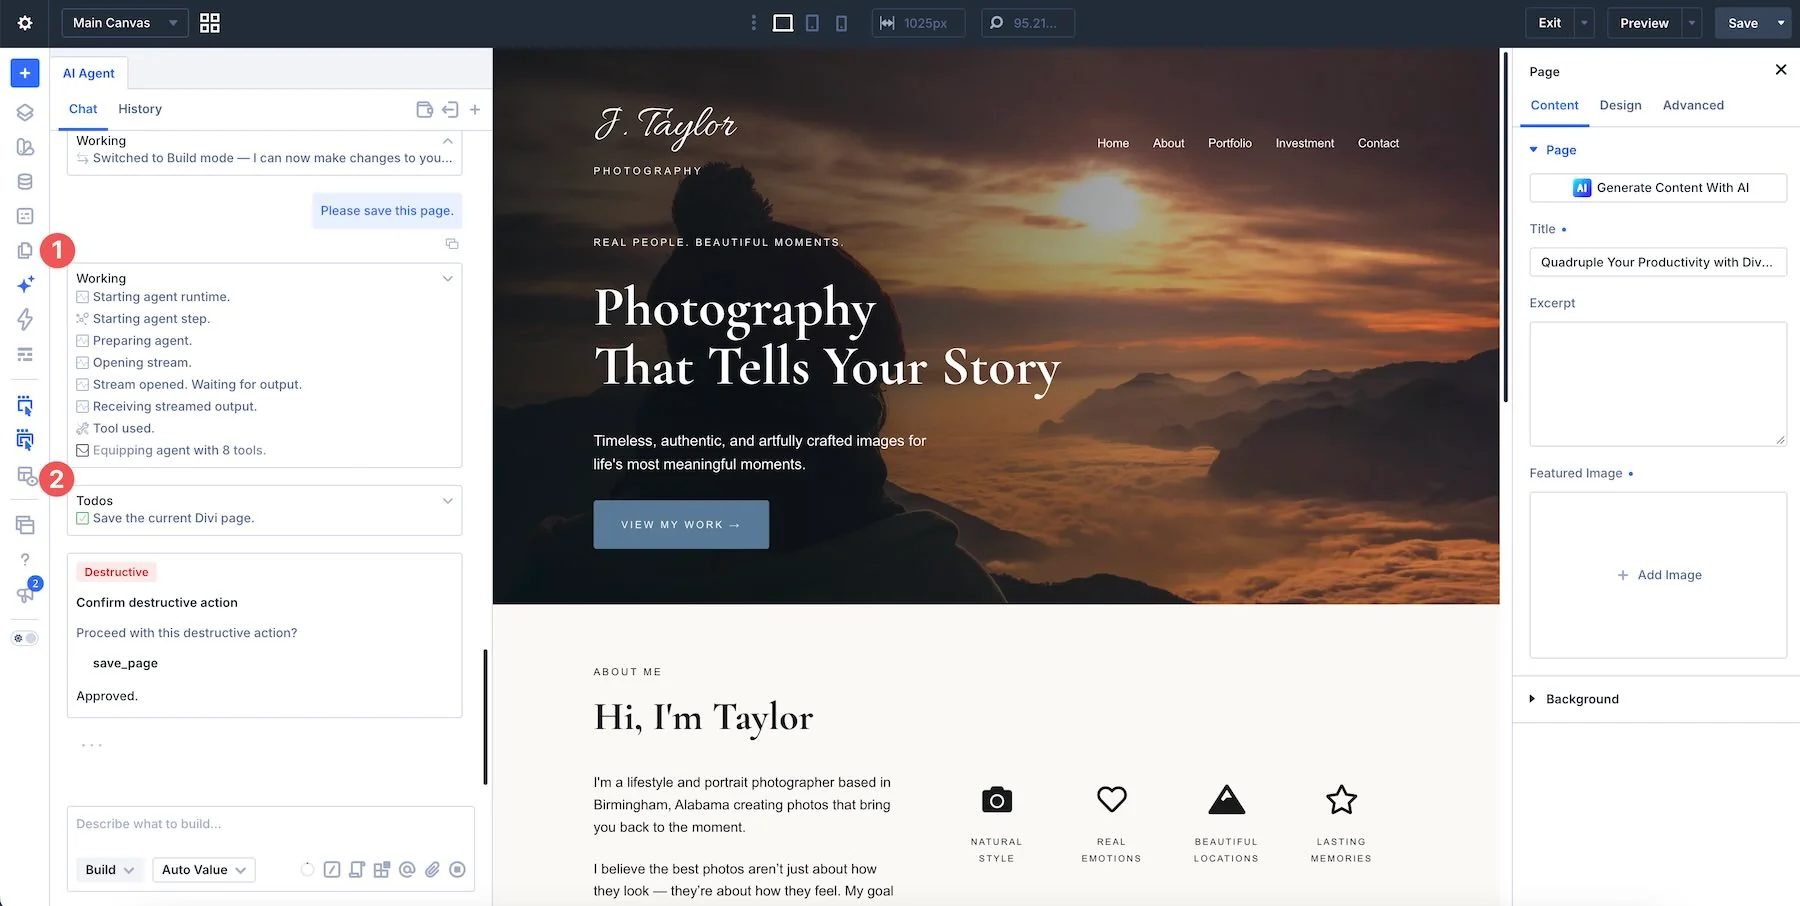
You need Divi 5 and an active Divi AI subscription, which is also included with Divi Pro. Agent requests use your AI Wallet. Your subscription includes a $5 monthly allowance that resets on your subscription renewal date; unused complimentary funds do not roll over. The agent’s wallet is separate from the generation included with Divi AI outside the agent. Our guide to Divi AI Agents pricing explains the Auto tiers and how request size affects cost.
Before applying these workflows to a client site, use a staging copy. Let each request finish, inspect the affected elements, and save a version you are happy with before moving to a different task.
10 Ways To Work Faster With Divi AI Agents
Start with work you would otherwise repeat across several elements. Give the agent the smallest useful scope, then check the result before expanding the task. If a multi-part request ends with unfinished work, inspect the completed changes and follow up with only the remaining items.
1. Replace Multiple Clicks With One Page Sweep
A page-wide pass is useful when the same correction applies throughout the page. Examples include replacing an old company name, fixing a repeated typo, or finding inconsistent button styles. Keep separate checks separate enough that you can review what changed.
For an image pass, add missing descriptions and preserve accurate existing alt text. Decorative images may correctly use empty alt text. Background images need a different approach because they do not provide an Image module’s alt attribute.
Review the Image modules on this page. Add concise, descriptive alt text where a meaningful image is missing it. Keep accurate existing alt text, and leave decorative images with empty alt text. Do not change images, links, layout, or styling. Report what changed.
Check the resulting alt attributes yourself. In our staging test, a request to describe an existing image left its alt text unchanged. Complete any missing descriptions manually before treating the pass as finished.
2. Establish A Reusable Design System
Repeated colors, font sizes, and button styles are good candidates for Design Variables and Presets. Variables store reusable values; Presets store reusable module or option-group styling.
Inspect the existing system first. Ask the agent to reuse suitable variables and presets before creating new ones, and review the proposed names and values. A shared style change can affect elements beyond the section you are looking at.
Inspect the headings, body text, Buttons, and icons on this page. Identify repeated font sizes and colors and suitable Button or icon styles for reuse. Check existing Design Variables and Presets first. Propose a consolidation plan without changing anything.
After you approve the proposed names and values, ask the agent to create and apply the approved variables and presets. Specify whether a preset should apply only to the selected elements or become a default. Review any approval needed to save shared changes.
3. Draft From A Creative Brief, Screenshot, Or Public URL
A brief or visual reference gives the agent a starting point for native Sections, Rows, Columns, and modules. Describe what to recreate and how much of the reference you need. A single section is easier to assess than an entire page.
For a screenshot, attach the image before sending the request. For a public URL, identify the specific section and the parts you want to borrow, such as its hierarchy or proportions. Treat the result as an editable draft and check its structure, content, and responsive behavior.
Recreate the attached reference as a new section using native Divi 5 modules and settings only. Use Flex as the Layout Style; do not use CSS Grid or custom CSS/code. Preserve the existing page content. Match the reference’s overall structure and proportions, and report any parts that need manual review.
4. Restyle And Rearrange An Existing Layout
Use the agent when the content is already there but its structure or styling needs changing. Select the target Row or Section and add it as Context so the request points to an actual element. In the agent panel, click the Context icon, expand Elements, and choose the Row or Section. Confirm that its context chip appears beside your prompt before sending it.
The example below assumes a single-column Flex Row containing five card Groups. Check that hierarchy first, then attach the Row as Context.
For the Row added as Context, replace its single-column structure with a five-column Flex Row. Move each of the five existing Module Groups into its own Column, preserving their order, content, and styling. Set the Row’s horizontal and vertical gaps to 15px. Do not modify other Rows or Sections.
Check the Layers panel afterward. In our staging test, the agent created the five Columns and set the 15px gaps, but left all five Groups in the first Column. The container change alone did not complete the rearrangement. Confirm that each Group sits inside its intended Column, and move any remaining Groups manually if a follow-up request does not finish the job. Then review the narrower breakpoints.
The agent can create a page or post from the chat, keeping you in the Builder while it handles supported WordPress tasks. Specify the title and status explicitly, and approve the creation when prompted. Start with a draft while its content is unfinished.
Create a new WordPress page titled Services with draft status. Do not publish it or add it to any navigation yet. Return its edit link.
Navigation needs a clear target. A WordPress menu is different from a collection of Link modules inside a Group. The video shows a custom navigation Group, so identify that Group and add it as Context before asking for another Link module. If you use a WordPress menu instead, name the menu in your request.
Review the Services page before publishing it and adding its link to live navigation. Removing or reordering menu items and assigning a menu to a theme location require approval.
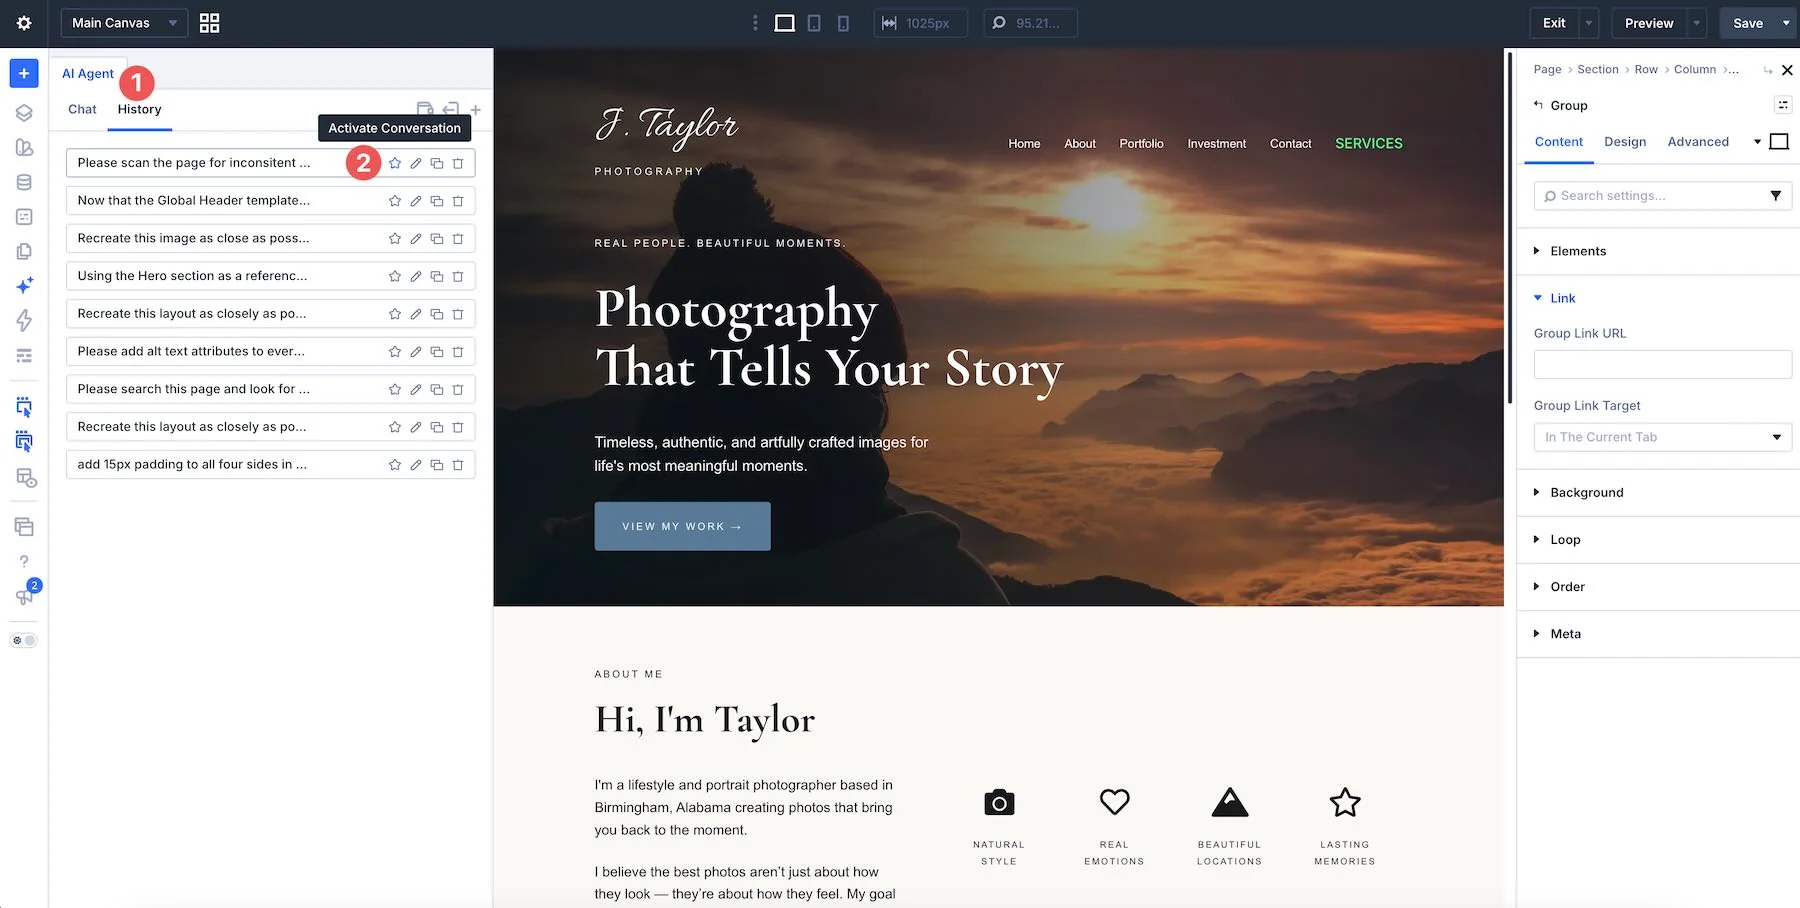
To resume earlier work, open History and use Activate Conversation. Re-establish the relevant page or module Context when you move to another page; an old conversation does not make an ambiguous new target clear.
6. Create And Reuse Divi Library Items
Save a useful module, Row, or Section to the Divi Library instead of rebuilding it on another page. Add the element as Context and give the item a name you will recognize later.
Save the Section added as Context as a non-global Divi Library item named “Coffee Hero.” Do not replace the current page or convert the Section into a global Component.
When reusing an item, say whether to insert it alongside existing content or replace the current layout. Those are different operations. A Library save and a page save are also separate: saving an item does not mean all of the current page’s edits have been saved. Deleting a Library item requires approval.
7. Set Responsive Values In One Instruction
Give the agent explicit values when you know the adjustment you want. That is easier to verify than a broad “make it responsive” request. Add the affected Row or module as Context, identify the breakpoint, and say which existing values should stay unchanged.
For the Row added as Context, keep the Desktop layout unchanged. Arrange its card Columns as two per row on Tablet and one per row on Phone, preserving their order. Keep a 15px gap at both smaller breakpoints. Use native responsive settings only. Do not change the site’s breakpoint definitions or add custom CSS.
Inspect each breakpoint after the edit, including a narrow phone width. Check text wrapping, image crops, spacing, and overflow. Also confirm that the requested override was created: our staging request for Phone-only heading sizes left the existing Desktop values unchanged and added no Phone override. Changing a module’s Tablet or Phone value is different from changing the site-wide breakpoint definitions; the latter requires approval.
8. Rewrite Copy Without Rebuilding The Page
Content passes work best when the agent knows which text to change and what to preserve. You can attach a TXT file or paste approved copy into the chat. Map that copy to the relevant headings or modules rather than asking it to distribute a whole document without guidance.
Update only the text in the Section added as Context using the replacement copy below. Preserve module order, links, images, and all styling. If a passage has no clear destination, ask before replacing it.
[Paste the approved replacement copy and identify its headings or modules here.]
For a smaller cleanup, request only the correction you need, such as fixing a repeated typo without rewriting surrounding sentences. In our staging test, the agent corrected “buisness” to “business” across all five card Text modules while preserving the other copy. Check links and button labels as well as body copy before accepting the pass.
9. Build In Stages You Can Check
A structure-first approach gives you a chance to correct the hierarchy before applying content and styling. It also makes follow-up requests easier to scope. Start with the containers and modules, inspect them, then add approved copy and the shared styles.
For example, begin with a pricing section beneath an existing featured-work section. Add that existing Section as Context so the insertion point is clear.
Create a new Section immediately below the Section added as Context. Add a single-column Flex Row containing a Heading and Text module, followed by a three-column Flex Row for pricing tiers. Use placeholder copy and native Divi modules only. Do not apply colors, presets, or advanced styling yet.
Inspect the structure, then add the new pricing Row as Context and provide the content for each tier. State the tier order so the agent does not have to infer it from a document.
Finally, apply your chosen styles. Replace the preset name below with one that exists on your site, or add the actual preset as Context. Check that headings wrap readably at each screen size.
Style the pricing Row added as Context to match the rest of the page. Apply the existing Pastel Blue Button preset to its Buttons. Preserve the approved copy and structure. Adjust heading sizes where needed for readable wrapping on Desktop, Tablet, and Phone; do not force long headings onto one line.
10. Build Theme Builder Templates From The Chat
Theme Builder templates can affect many pages, so define their scope before creating them. Enable Theme Builder Template Editing when it is required by your Builder setup, and tell the agent whether you mean a page-specific template or a site-wide Global Header.
For a test, start with a template assigned only to your staging test page. Review the creation and assignment approvals before proceeding. Do not replace an existing Global Header merely to try a design.
Create a new Theme Builder template named Productivity Test Header for this staging test page only. Give it a custom header slot with placeholder content. Do not replace the Default Website Template, an existing Global Header, or any other template assignment. Ask if the target page or assignment is ambiguous.
Creating the template and designing its header are separate steps. Once the template exists, identify it in the follow-up request and attach the visual reference. Use a menu that exists on your site; replace “Primary Menu” below with its actual name.
For the Productivity Test Header template just created, build the custom header to match the attached reference using native Divi modules and settings only. Use the existing Primary Menu for its navigation. Preserve the page-specific assignment and all other templates. Do not add custom CSS or code.
What To Keep In Mind When Using Divi AI Agents
The open page and the Context you supply establish the working target. Some tools also act on site-wide resources, including presets, variables, menus, and templates. Read the scope of those changes before approving them.
Use the attachment picker to check supported files. The current picker includes JPEG, PNG, WebP, TXT, HTML, CSV, TTF, and OTF. Check our guide to adding Context for upload requirements, and split large reference documents into the relevant passages.
The three risk categories help you anticipate the workflow:
- Safe: Read-only tasks such as inspecting page structure or searching documentation do not require confirmation.
- Moderate: Most everyday layout edits run immediately. Some actions, including creating pages or Theme Builder templates and assigning default presets, still ask for approval.
- Destructive: Actions such as saving pages, changing publication status, saving shared variables or presets, and deleting Library items require approval.
Our approval and risk-level guide explains the exceptions. The badge is a product risk category, not a guarantee that an action affects only the current page.
If a request heads in the wrong direction, stop it and inspect what has already changed. Completed actions remain on the page when you stop a run. Use Restore To Here on the relevant earlier message when appropriate, then retry with a clearer target or smaller scope. Check separately saved site-level resources too; a page restore may leave those persistent changes in place.
Build A Repeatable Workflow With Divi AI Agents
The biggest opportunity is the work you repeat: styling similar modules, replacing placeholder copy, preparing reusable Sections, and setting responsive values. Give those tasks a specific target and a result you can check.
Start with one workflow from this list on a staging page. Add the relevant Context, review what changed, and refine the prompt until it works for your site. Save a repeated instruction as a Command, and use Rules for the conventions you want applied across relevant tasks. That gives you a process you can reuse without promising the same time saving on every build.